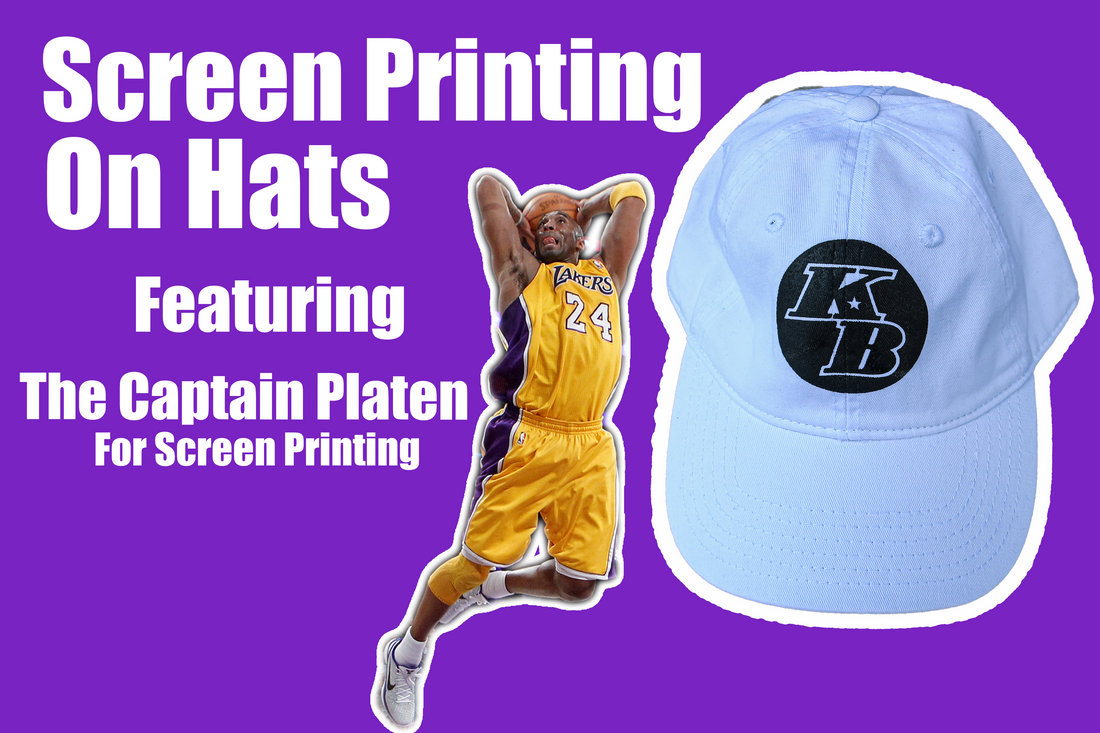
How to Screen Print on a Hat
We were saddened to hear about the passing of one of Los Angeles' greatest heroes, Kobe Bryant. So as a tribute, we decided to focus our latest How-To Blog and design around this local legend.
In this How-To Blog we'll be showing you how to screen print directly on a hat. Currently, the method for achieving printed designs on hats involves screen printing designs onto a transfer sheet, applying adhesive powder to the printed designs, semi-curing the printed sheet, individually cutting out the transfer designs, and heat pressing them onto each hat with a special hat press. Clearly, there must be a better way! Keep reading to see how easy we've made it to print directly onto hats.
The Process
Step 1: Prepare Your Artwork
The ideal size for artwork being printed on hats is 2.5 inches in height and 5 inches in width or smaller. If your design requires the use of registration marks, they would also need to fit within this area.
Step 2: Pick Your Hats
Unconstructed hats are best for screen printing. These hats can easily fold and bend without ruining their integrity or construction. Examples of unconstructed hats include Dad Hats, Foam Trucker Hats, Bucket Hats, 5-Panel Hats, etc. Have some fun with this step! There are tons of great color options and styles out there so go nuts!


 5-Panel Hat
Step 3: Gather Your Equipment
The good news is that you can use the same screen printing equipment you already have in your shop now. This means the same press, screens, squeegees and inks. The only thing you'll need to buy is the CAPtain Platen to make printing on hats quick and easy!

Step 4: Print!
Once you have your CAPtain Platen Screen Printing Kit, printing on hats will be a breeze. Watch the video below to see step-by-step how easy it is to print on hats.
Step 1
Setup the Adaptor Bracket on your screen printing press
Step 2
Load your hat onto the Captain Platen
Step 3
Screen print your hat as you would normally print on a shirt
Step 5: Cure the Ink
There are a few ways you can cure the ink depending on what equipment you have available. If you're using a hot air gun, ensure you keep the air gun moving to prevent the hat from burning. You can also use a flash dryer utilizing short time intervals to prevent burning. Lastly, you can use a conveyor dryer. You may have to run a few test hats to dial in the most optimal settings for the specific type of hat you are using.
Consider using low-cure inks or additives such as Time Warp from Ryonet to decrease your cure times and temperatures.
The Benefits

Printing on hats can open up a new stream of revenue for your print shop or brand. One of the easiest up-sells you can offer is a matching accessory to something your customer is already going to purchase from you.
Also, the ability to print on hats will help you stand out! Be one of the first shops in your neighborhood to offer this service so you can get more orders and make more money!

Leo Martinez
Print shop owner and founder of Key Print Co.

